


Browse by Machine Type:
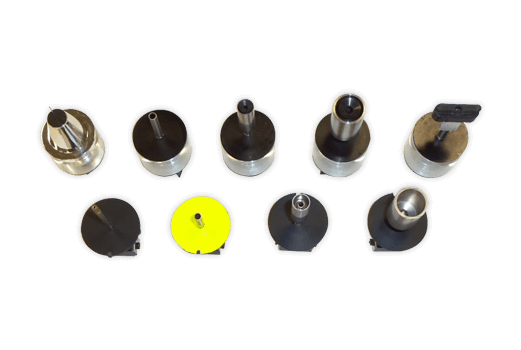
Custom Special SMT Nozzles
Assembleon / Yamaha 30 Series
Assembleon / Yamaha 50 Series
Assembleon / Yamaha 60 Series
Assembleon / Yamaha 70 Series
Assembleon / Yamaha 200 Series
Assembleon / Yamaha 300 Series
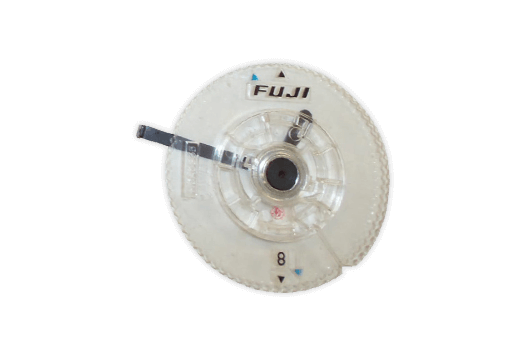
Fuji AIMEX
Fuji NXT / AIM
Fuji XP241 / XP242 / XP341
Fuji XP142 / 143E / XPF
Fuji CP7 & CP8
Fuji CP6
Fuji CP4
Fuji QP3
Fuji QP2
Fuji IP3
Fuji IP1, IP2
Fuji NP153
Fuji GL
Fuji CP/IP/QP Feeder Parts
Juki 2000 series
Juki 700 series
Juki RS-1 RSE
Orion Vacuum Pump (Fuji & Others)
Panasert
Panasonic CM201/202
Universal Flexhead inline 4 (4spindle head)
Universal Flexjet 07-09 (7 spindle head)
Universal Flexjet 2-3 Inline 7 (7 spindle head) FZ7
Universal Lightning HSC FZ30
Parts Store
Our Services: